Windows prerequisites, offline-first behavior, single-PC vs multi-PC positioning, and what to
prepare before the first launch.
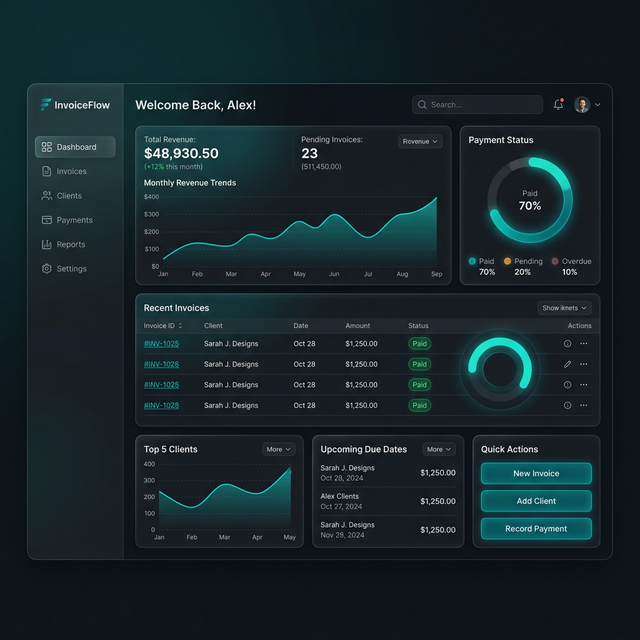
Use the initial dashboard view to
confirm the install completed cleanly before entering business data.
Deployment choice matters
early. Decide Local Desktop vs LAN Hub vs Cloud Workspace before multiple users begin work.
Go-live preparation is not just
installation. It includes print verification, business identity, and continuity planning.
Annotated view: use the first launch to validate the environment, not
to improvise production settings later.
Before you install
Use a supported Windows machine. Windows 10 or Windows 11 is the target environment.
Decide whether this is a single-PC billing setup or a future multi-PC counter setup.
Keep business basics ready: GSTIN, legal name, address, state, bank details, and print logo.
If you already have data in spreadsheets, prepare to use the import wizard after setup.
GST Billing Pro is desktop-first and offline-first. That is a strength for local speed, but it
also means you should choose the right deployment topology before running multiple counters.
Understand the deployment modes
Local Desktop
Best for one machine or one operator. Data stays local on the PC and billing continues
even without internet.
LAN Hub
Use this for same-shop multi-PC live billing. One machine becomes the authoritative host
and counter devices connect to it.
Cloud Workspace
Use this when you want hosted authority or future multi-location deployments. It follows
the same authoritative model as LAN Hub.
Cloud continuity is not the same as live multi-counter concurrency. Backup snapshots and staged
sync are continuity tools, not a replacement for authoritative shared writes.
Recommended first-launch sequence
Install the app from the Windows installer.
Activate the product using your activation key.
Create the first admin account.
Complete business profile, tax profile, and invoice preferences.
Load customers, items, and opening stock.
Print a sample invoice before going live.
Go-live checklist
Area
Ready when
Activation
The app is activated and the first admin can log in.
Business identity
GSTIN, address, tax profile, bank details, and logo are saved.
Print workflow
A sample A4/A5/thermal print is verified on the target printer.
Data
Customers, items, stock, and numbering preferences are loaded.